
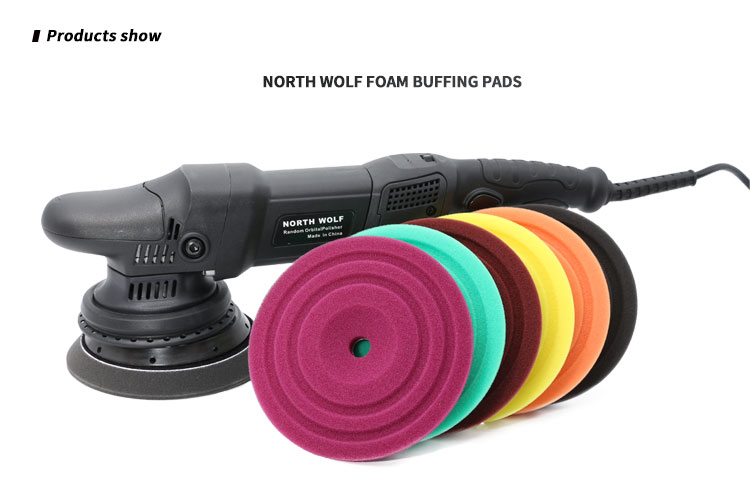
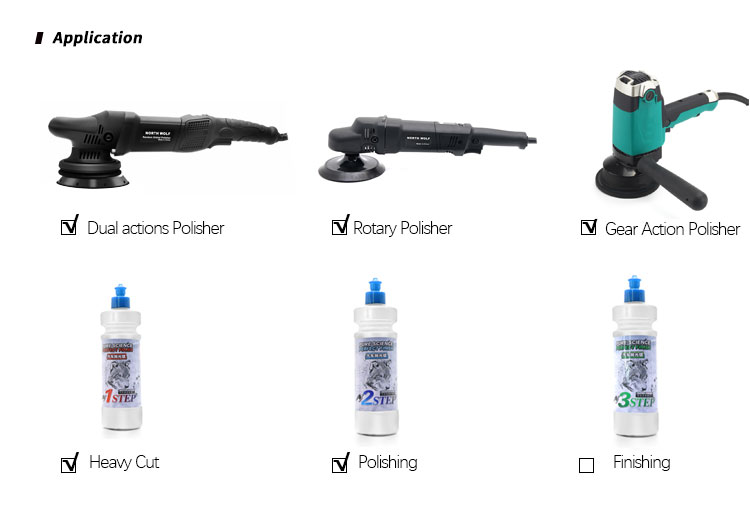
North Wolf sponge polishing pads are crafted from high-density, durable foam with a soft, uniform texture, designed for safe and efficient polishing. Unlike wool pads, they offer milder cutting power, making them ideal for removing light swirl marks, water spots, fine scratches, and restoring the glossy finish of automotive paintwork. They are compatible with dual-action (DA) and rotary polishers, suitable for both beginners and professional detailers.
What You Need
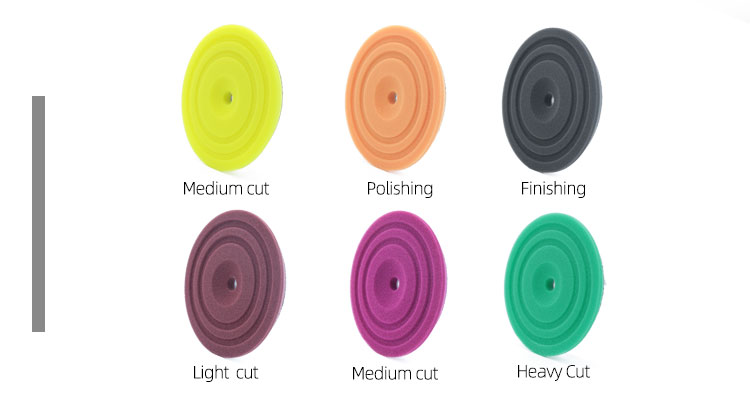
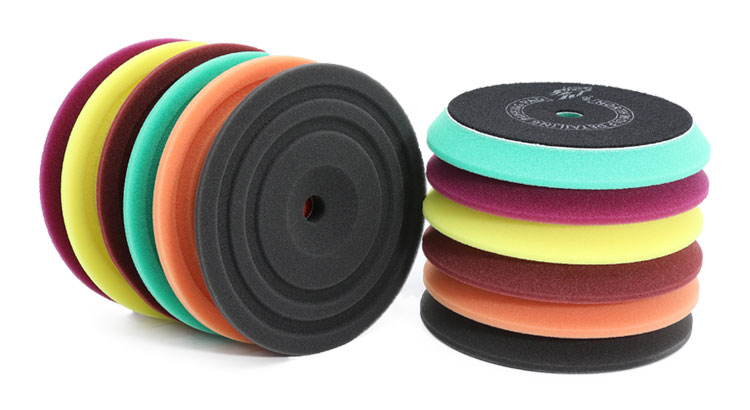
- North Wolf sponge polishing pad (available in 5”, 6”, 7” sizes; choose soft foam for light polishing, medium foam for general correction)
- Polisher (DA or rotary) with a matching backing plate
- Polishing compound (light-cut for fine defects, medium-cut for minor scratches; avoid heavy-cut compounds unless paired with a medium foam pad)
- Clean water
- Lint-free microfiber towels
- Neutral detergent (for pad cleaning)
Step-by-Step Usage Guide
1. Pre-Use Preparation
1. Clean the Vehicle Surface: Thoroughly wash the car with a mild car shampoo to remove dust, dirt, and debris. Dry the surface completely with a microfiber towel—any remaining particles can scratch the paint during polishing.
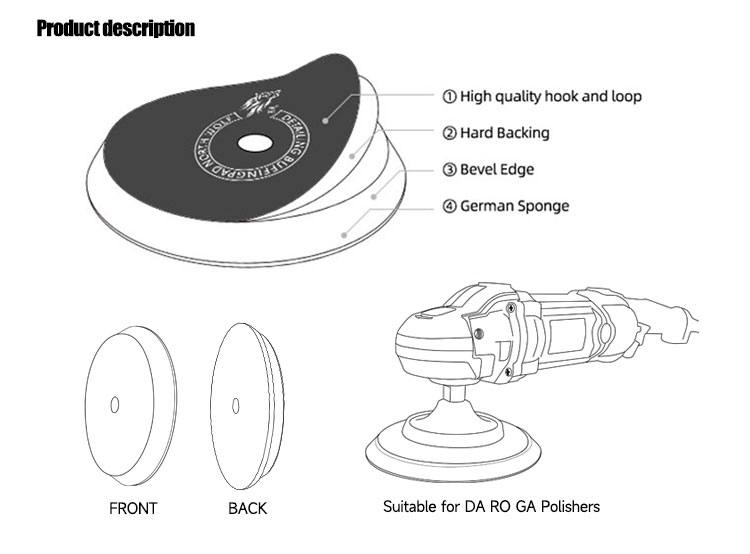
2. Prepare the Sponge Pad: Unlike wool pads, North Wolf sponge pads do not require soaking. Simply wipe the pad surface with a damp microfiber towel to remove any dust or manufacturing residue. Attach the pad firmly to the polisher’s Velcro backing plate, ensuring it is centered and secure (loose pads can cause uneven polishing).
3. Test in a Hidden Area: Before polishing the entire vehicle, test the pad and compound on an inconspicuous spot (e.g., door jamb, under the rear bumper). This helps verify paint compatibility and ensures the compound-pad combination does not damage the clear coat.
2. Apply Polishing Compound
1. Shake the polishing compound well to ensure uniform consistency. Apply 2–4 small pea-sized dots of compound evenly across the surface of the sponge pad. Avoid over-applying, as excess compound will splatter during polishing and leave hard-to-remove residue.
2. Lightly press the pad against the test area or the first section of the car. Turn on the polisher at low speed (800–1000 RPM) and move it in small circles for 2–3 seconds to spread the compound evenly across the pad and the paint surface.
3. Polishing Process
1. Set the Correct Speed:
- For light polishing (removing swirl marks, water spots): Use 1200–1500 RPM (DA polisher) or 1000–1300 RPM (rotary polisher).
- For minor scratch correction: Use 1500–1800 RPM (DA polisher) or 1300–1600 RPM (rotary polisher).
2. Polishing Technique:
- Hold the polisher with both hands, keeping the pad flat and parallel to the paint surface—tilting the pad can cause uneven wear and scratch the paint.
- Move the polisher in straight, overlapping passes (overlap each pass by 1/3) along the vehicle’s body lines. For better results, use a cross-hatch pattern (horizontal passes followed by vertical passes) on each section.
- Keep the pad moving continuously—never let it stay in one spot for more than 2 seconds. Sponge pads retain heat more than wool pads, so prolonged contact can burn the clear coat.
- Apply light to moderate pressure. Too much pressure compresses the foam, reducing polishing efficiency and increasing heat buildup; too little pressure will not effectively remove defects.
3. Monitor the Surface:
After polishing a 2ft x 2ft section, stop the polisher and wipe the surface with a clean microfiber towel to remove compound residue. Inspect the area—if defects remain, reapply a small amount of compound and polish again at the same speed.
4. Post-Polishing Steps
1. Final Wipe-Down: Once the entire vehicle is polished, use a clean, dry microfiber towel to wipe down the surface and remove any remaining compound residue. This reveals the smooth, glossy finish.
2. Clean the Sponge Pad:
- Rinse the pad under running water immediately after use. Gently squeeze the foam to release compound and debris—do not rub or scrub, as this can damage the pad’s structure.
- For heavy residue, add a small amount of neutral detergent to the pad, work it into a lather, and rinse thoroughly until the water runs clear.
3. Dry and Store:
- Squeeze out excess water and lay the pad flat on a clean surface, or hang it in a cool, dry, well-ventilated area (avoid direct sunlight or heat sources) to air dry completely.
- Store the dry pad in a clean container or bag—do not stack heavy objects on top, and keep it away from moisture and chemicals to prevent mold or damage.
Key Safety Precautions & Tips
- Avoid Dry Polishing: Even though sponge pads are softer, dry polishing can still cause heat buildup and scratch the paint. Keep the pad slightly damp if needed, but do not soak it.
- Pad Compatibility: Use a backing plate that matches the pad’s size to ensure even pressure distribution. A mismatched backing plate can cause the pad to tear or polish unevenly.
- Trim Protection: Keep the sponge pad away from plastic trim, rubber seals, and window edges. The pad’s edges can still scratch or damage non-paint surfaces.
- Personal Safety: Wear safety goggles to protect your eyes from compound splatter, and gloves to avoid skin irritation from polishing chemicals. Work in a well-ventilated area to avoid inhaling dust or fumes.
- Replace Worn Pads: If the sponge pad becomes compressed, cracked, or loses its soft texture, replace it. Worn pads will not polish effectively and may damage the paint.
Post time: Jun-06-2026