
The process is basically the same whether you’re using natural or synthetic clay.
Ensure the surface has been thoroughly washed, rinsed & dried.
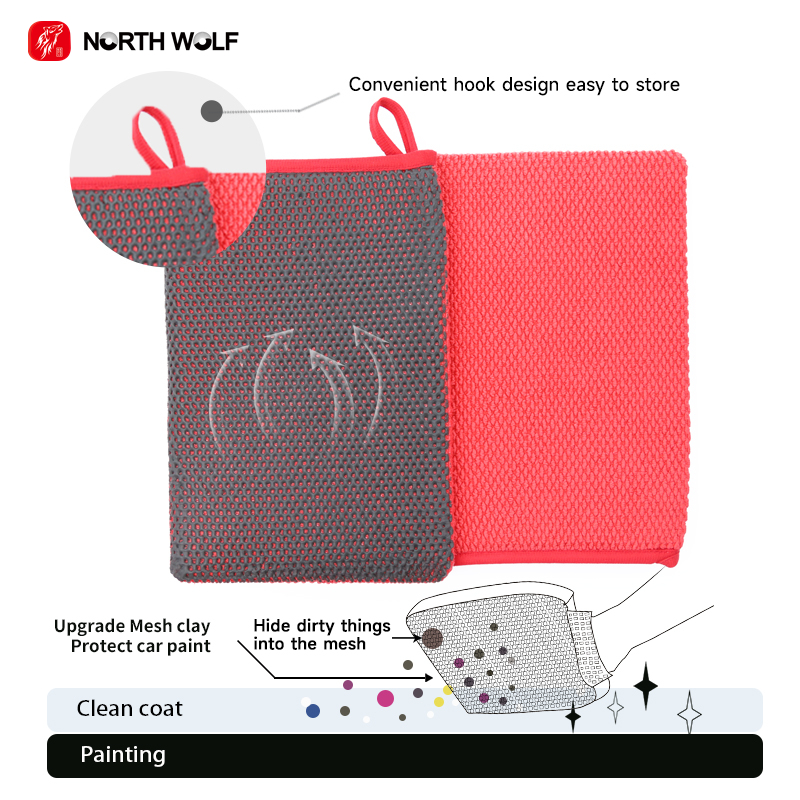
All clay must utilize a lubricant to help it glide across the painted surface and reduce the risk of imparting scratches. With natural detailing clays, we would recommend using a clay lubricant specifically designed for the task. With synthetic clay variations, you can use a clay lubricant, detail spray, or soapy water.
Operate on small sections one at a time and generously apply your preferred lubricant to the painted surface. We also advise spraying the clay or clay mitt to maintain adequate lubrication during use.
Move the clay mitt gently over the surface using a cross-hatch pattern, first vertically then horizontally. At first, you will feel some friction, but as the mitt eliminates contaminants, the gliding action will become progressively smoother.
Regularly inspect the surface of the clay for embedded particles. Rinse it when necessary and apply extra lubricant to the treated area as you proceed.
When you no longer detect any resistance or drag in that section, use a clean microfiber towel to wipe the paintwork completely. Use your fingertips to feel the surface and compare it with an untreated section; you will observe a clear difference in smoothness.
Repeat this process on all body panels of the vehicle until the entire car is finished.
It should be noted that, based on the level of surface contamination, polishing may be necessary after claying to address any potential micro-marring. If no such marks are present, we recommend applying protection such as wax or sealant immediately after the claying process.
Post time: Mar-19-2026